
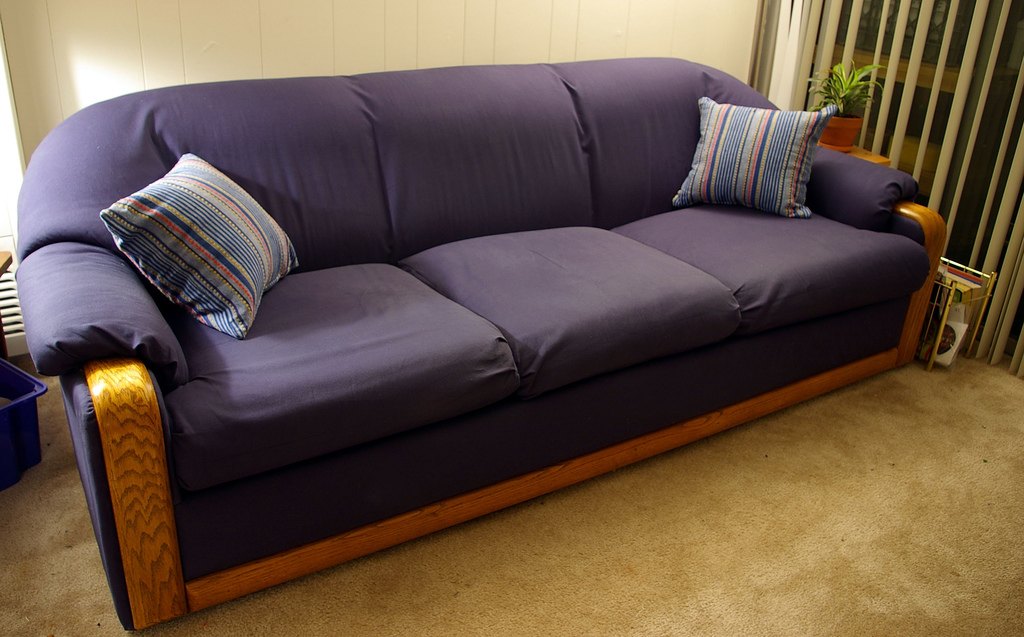
Reupholstering an old sofa at home can completely change the look of your space. It also helps you save money and extend the life of your furniture. While the process may seem complex at first, you can handle it with the right approach and tools.
This guide breaks everything down into simple steps so you can follow along easily.
What Is Upholstery?
Upholstery is the process of covering furniture with padding, fabric, or leather. It includes materials like springs, foam, and webbing to improve comfort and support.
Modern upholstery uses materials such as foam and synthetic fabrics. Traditional upholstery relies on natural materials like cotton, coir, and animal hair.
Types of Upholstery You Should Know
The type of upholstery you select for your furniture is one of the obvious signs of class and style. So, it makes sense to clearly understand the different types of upholstery as it will help you choose the most appropriate one. Here’s a comprehensive detail to help you make your way through the process.
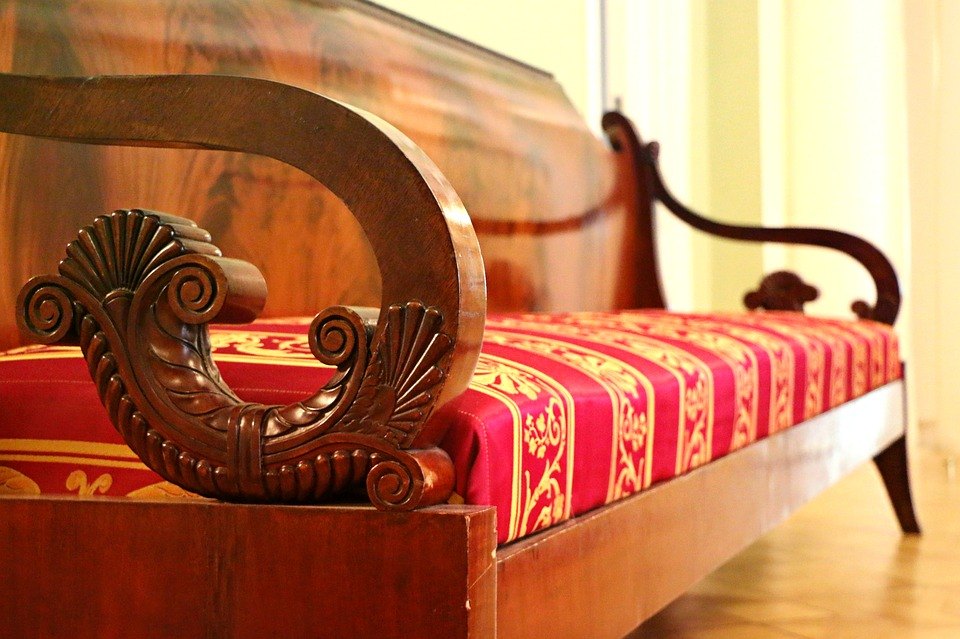
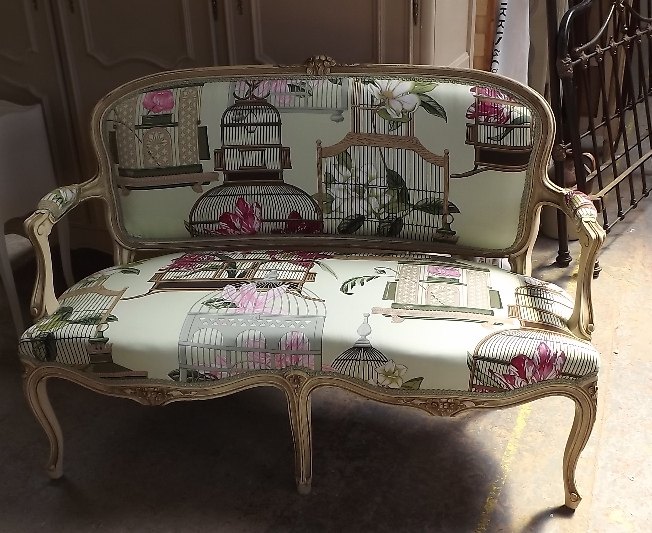
- Traditional upholstery: It’s a centuries old craft performed for covering and padding seats, sofas and chairs before the emergence of sewing machines, plastic foam and synthetic fabrics. Based on webbed or solid wood platform, traditional upholstery can involve use of lashings, springs, fillings of animal hair, wools, grasses and coir, bridle ties, scrims and stuffing ties, among others.
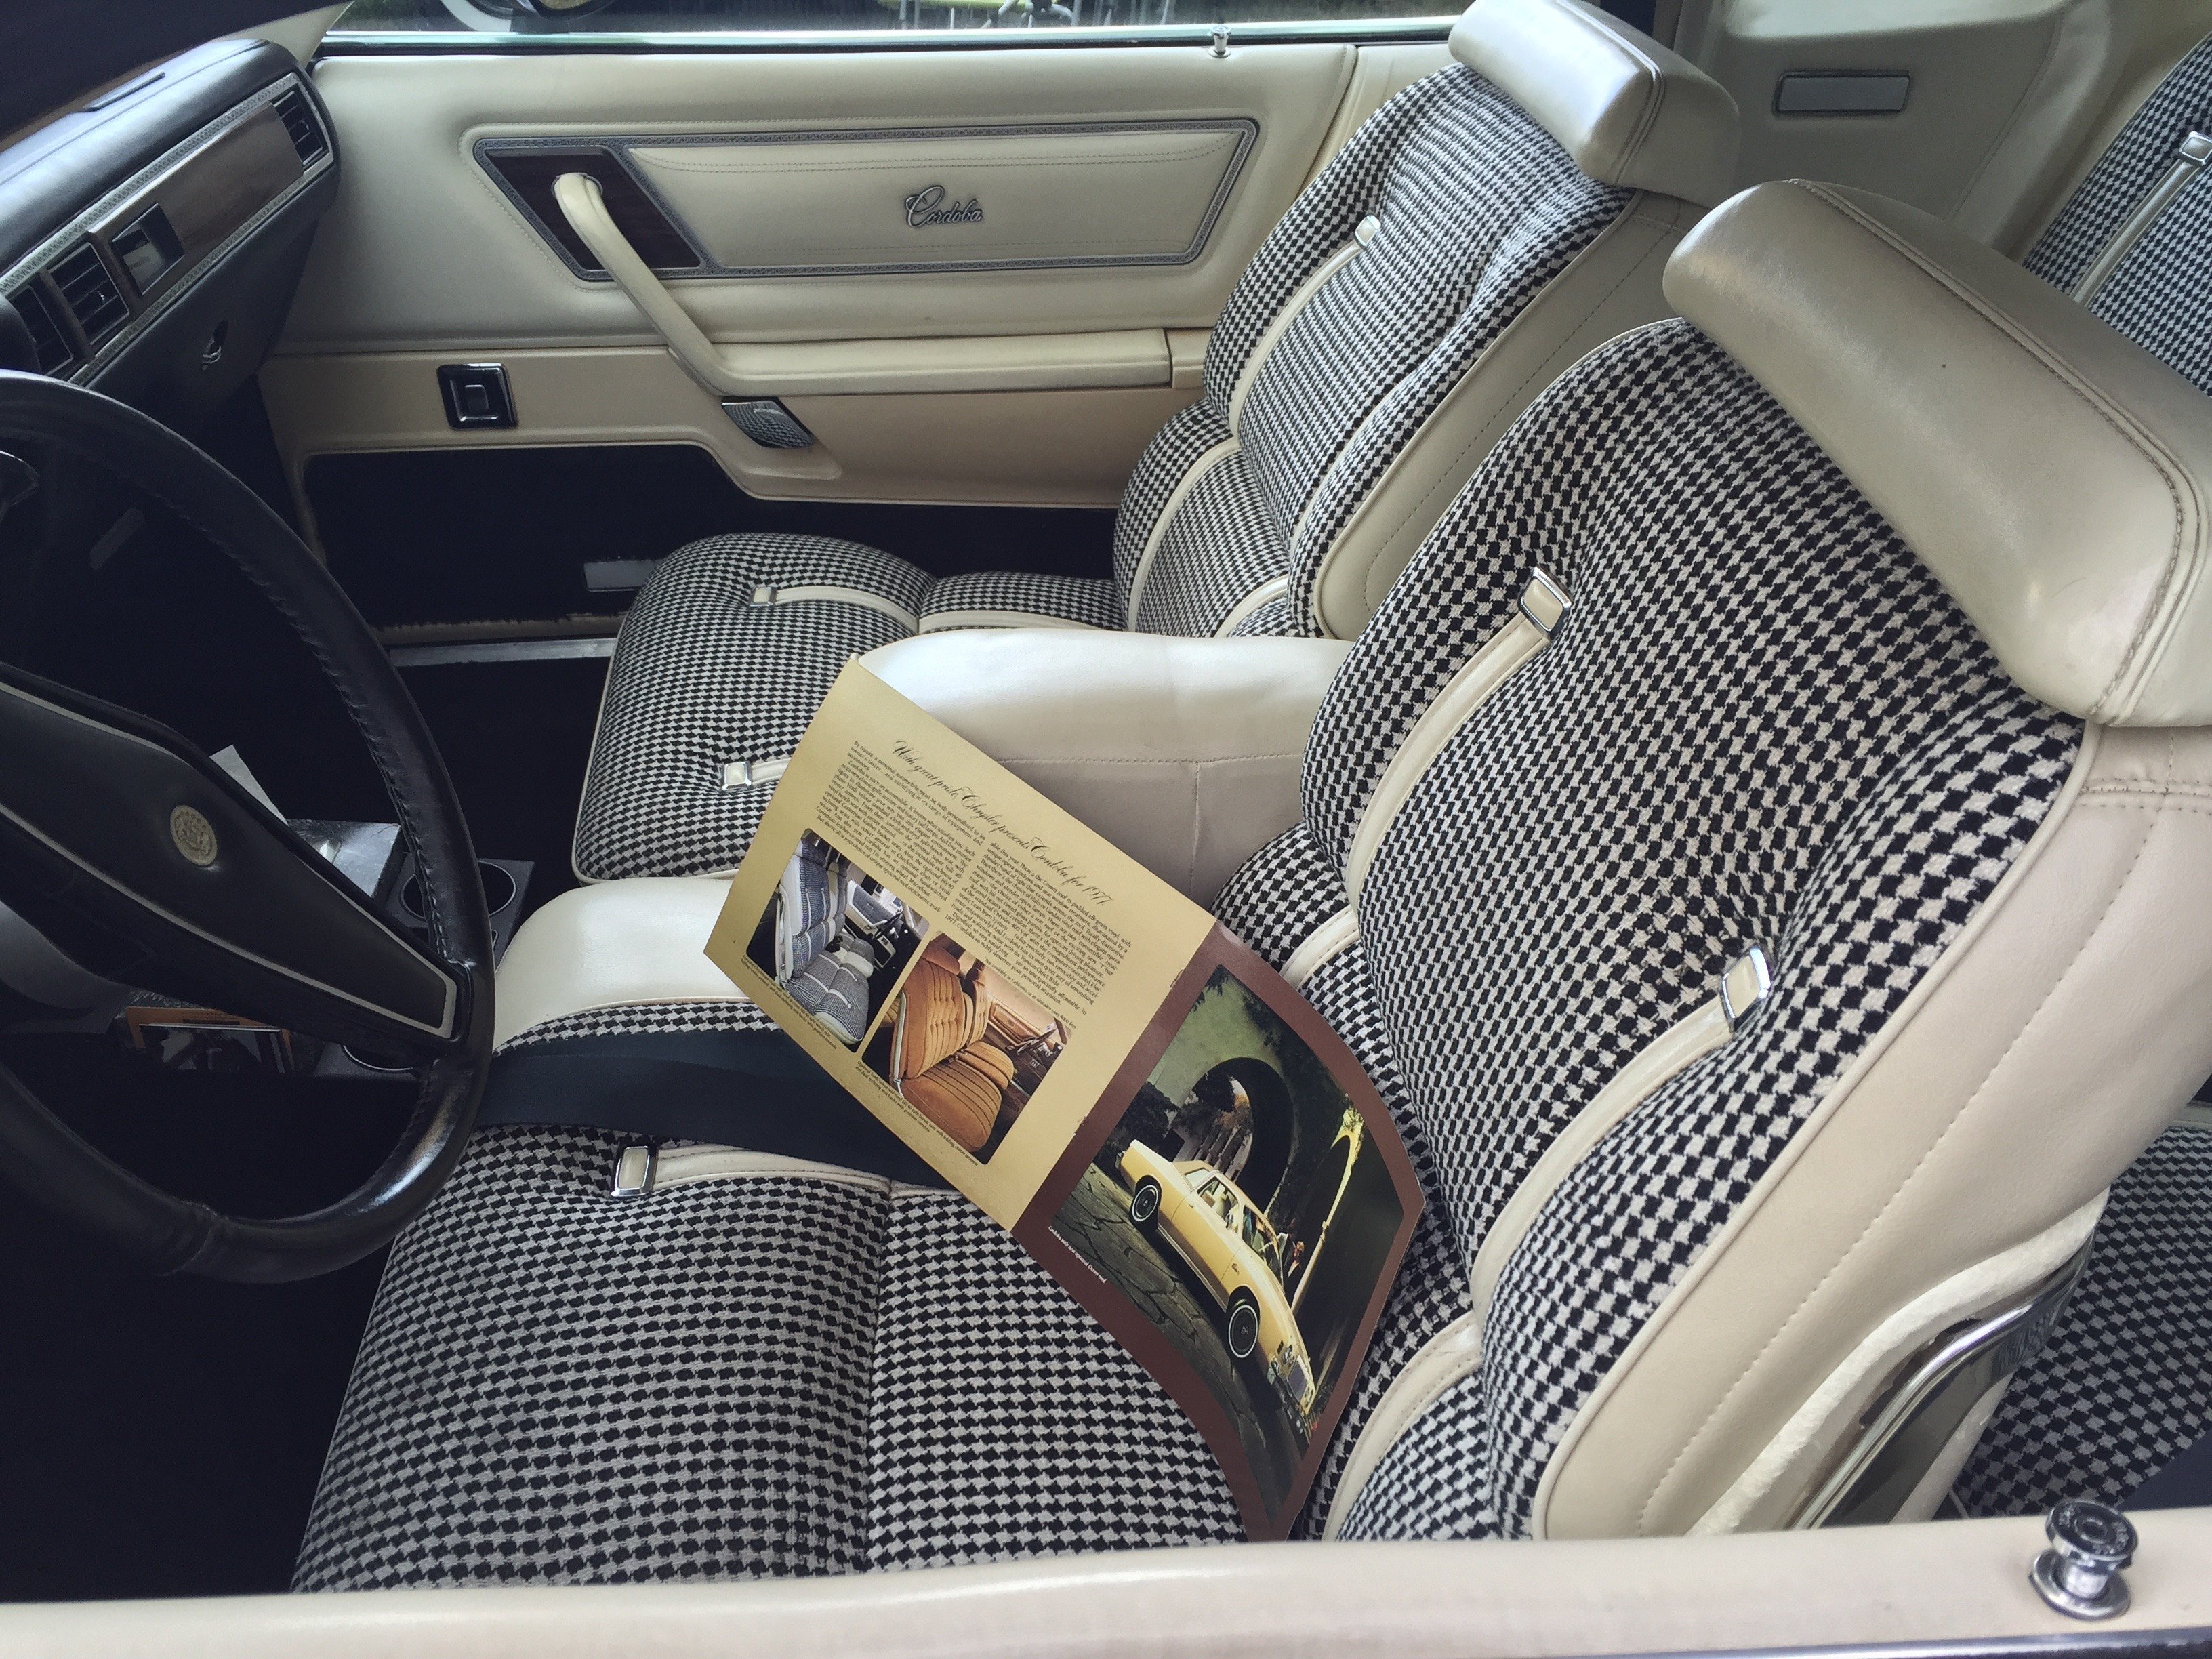
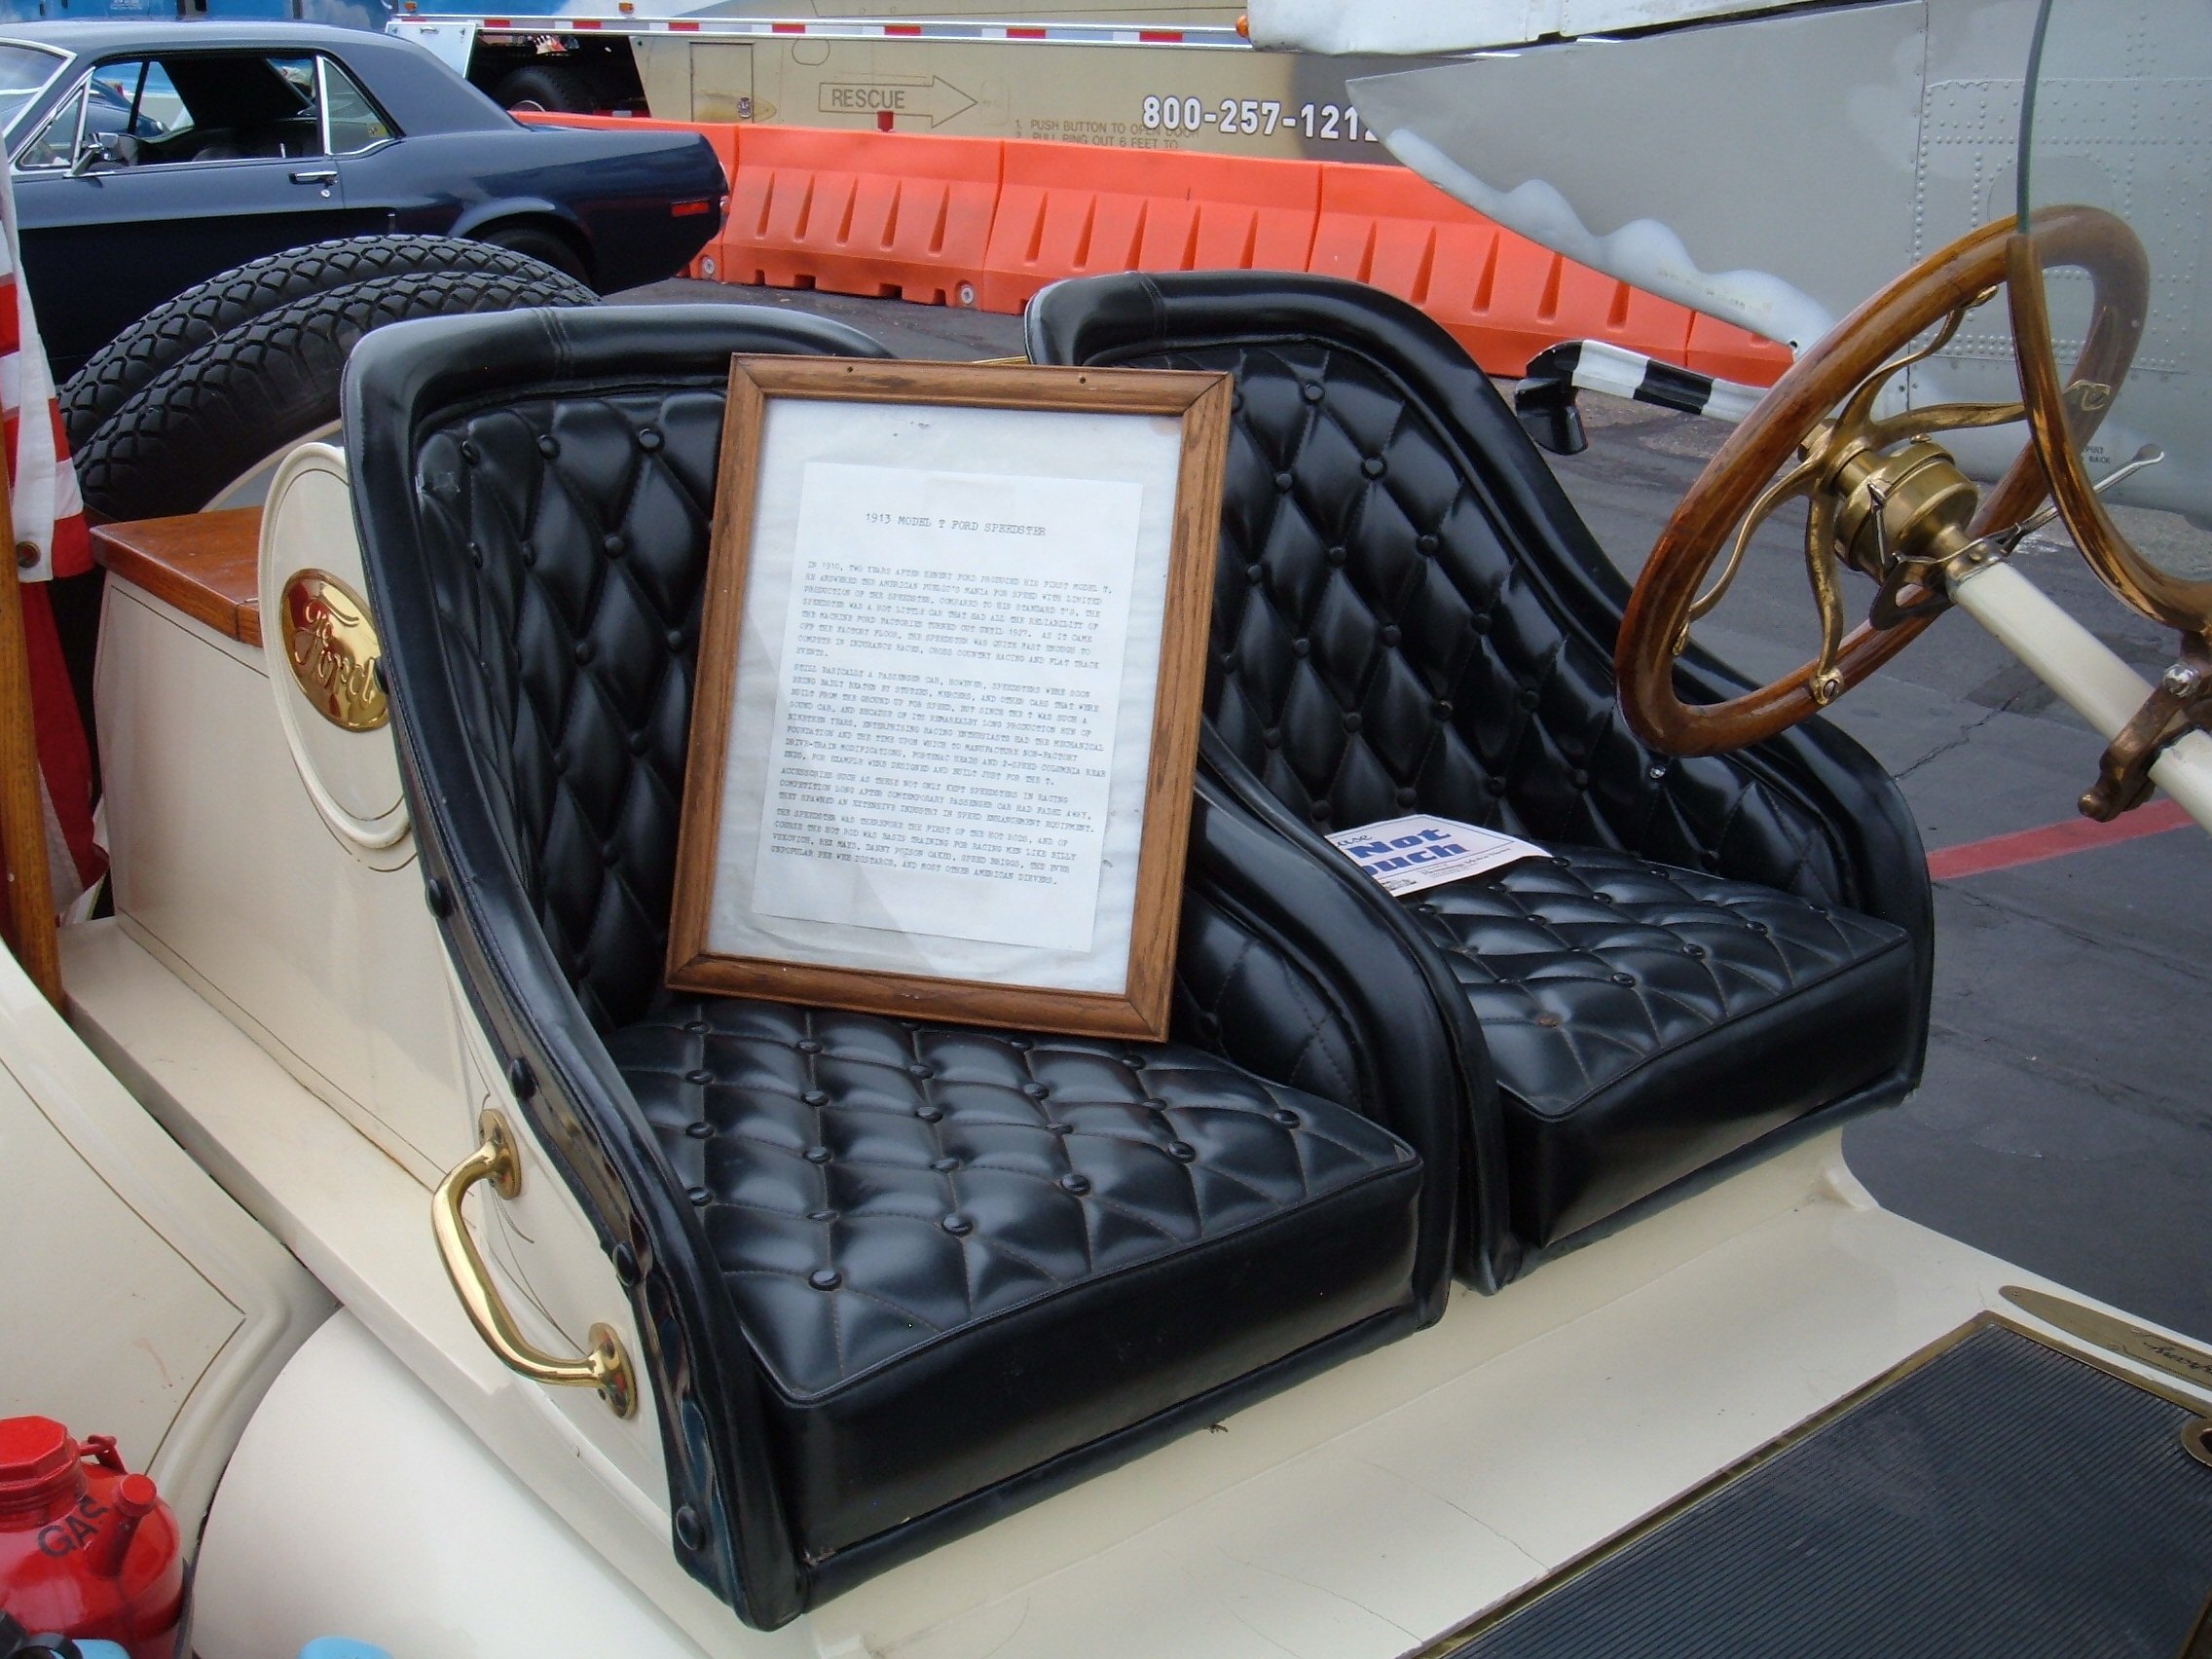
- Automobile upholstery: Automobile upholstery involves a significant number of skills required in upholstery. Automotive upholsterers, also known as trimmers, produce carpets, soft furnishings, roof linings, soft tops in accordance with customer specifications.
- Marine upholstery: Marine upholstery differs from the other branches of upholstery as it involves considering sunlight, dampness and hard usage. For instance, a material that is cold-cracking and UV resistant is ideal. Such upholstery require wood of marine quality and need stainless steel hardware like screws, staples to be applied for a long-lasting, high quality job.
- Commercial upholstery: This type of upholstery craft is offered to different kinds of businesses. For instance, clinics and hospitals requiring chiropractic tables, medical tables and dental chairs, or restaurants consisting of dining room chairs, booth seats, bar stools etc use such upholstery.
Materials used in upholstery
Covering materials
A refined and neat upholstery work can surely enhance the beauty quotient of your room. With use of proper covering materials, the elegance of the room interiors can be accentuated. Here’s a list of most commonly used covering materials for upholstery craft.
- Fabrics: Your upholstery fabrics need to be chosen carefully because the durability of the fabric depends on surroundings and temperature, nature of your place etc. Cotton is most commonly used covering material in upholstery work.
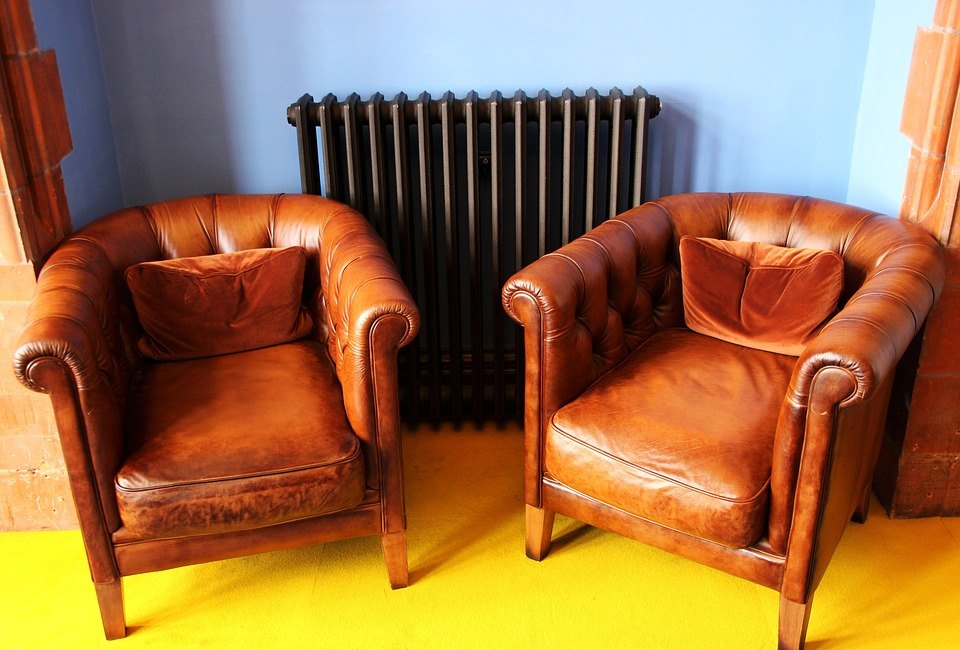
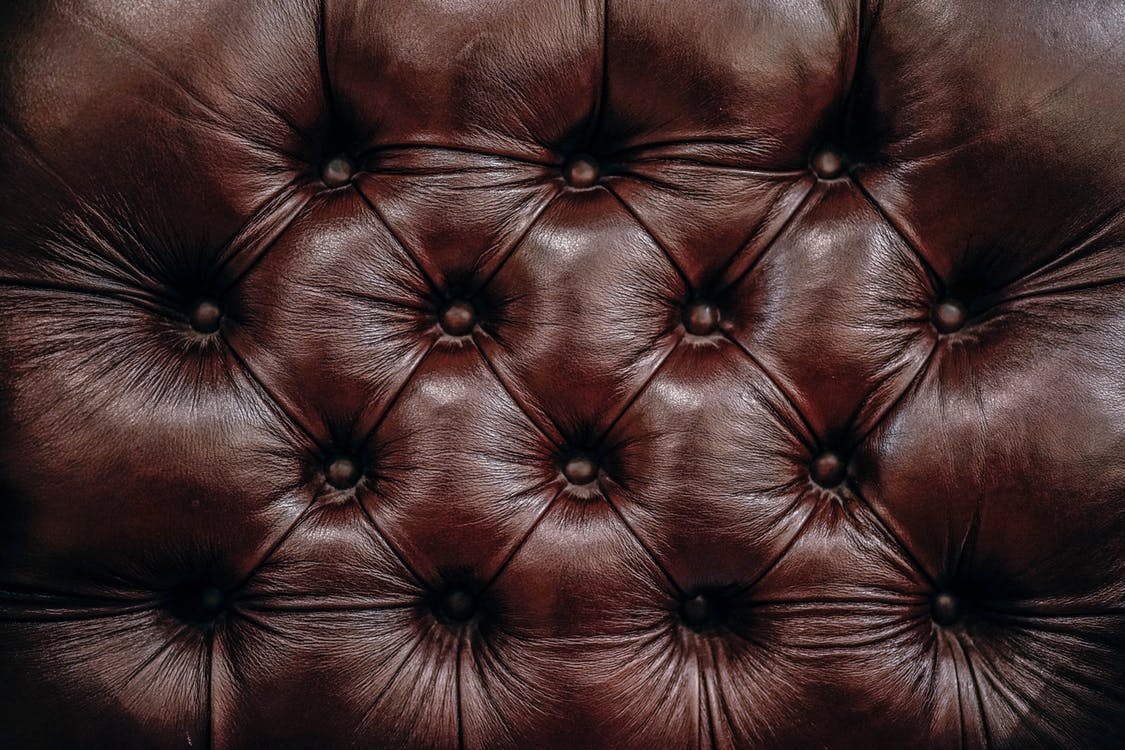
- Leather: Leather is certainly your best option when sustainability becomes the top-most concern and price is not. Leather works beautifully in traditional and modern settings alike.
- Vinyl: It’s less expensive and easy-to-care compared to leather. Vinyl is perfect for busy family dining and living rooms.
Hardware
Springs play crucial roles in an upholstery work. Apart from absorbing shock, upholstery springs provide resilience and firmness to the seats. There’re three fundamental types of springs utilized in upholstered furniture – coil, zig-zag and marshall. Either of the first or second type is used in upholstered furniture while the third is found on mattresses.
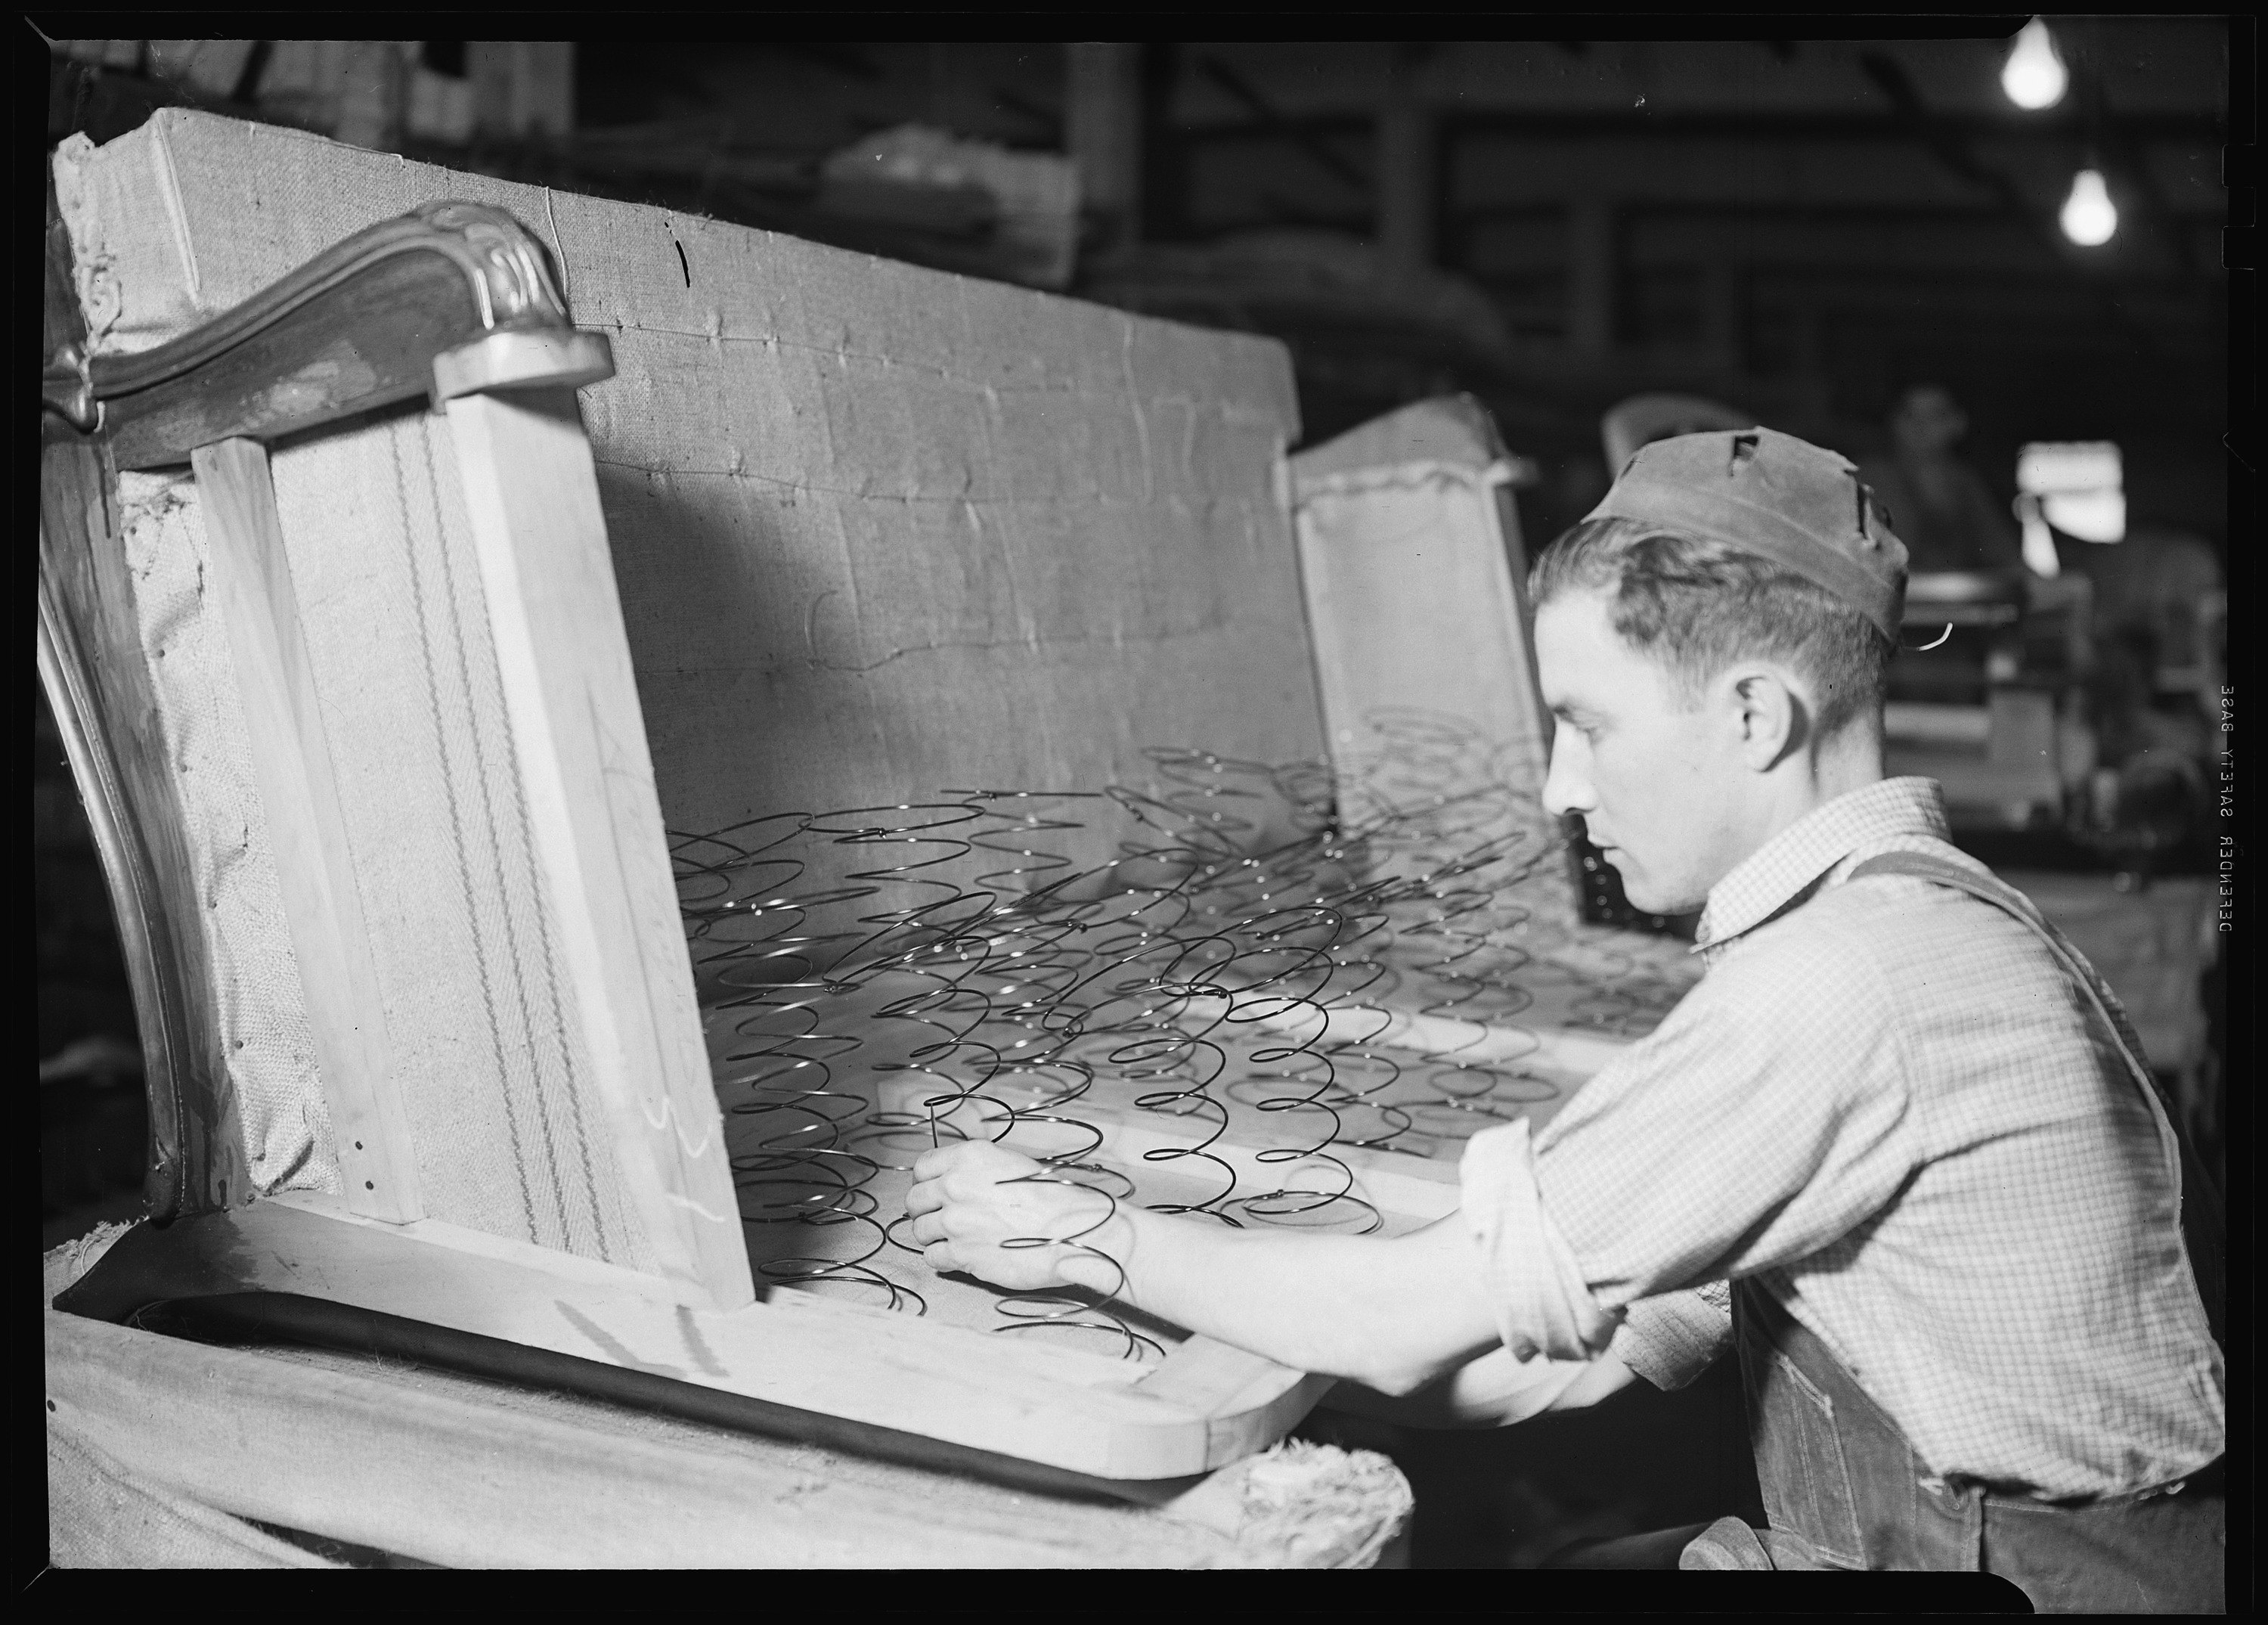
- Coil spring: Considered as high-end products, these are most commonly used in new, superior furniture and antique furniture. The height of the spring varies in accordance with that of the seat.
- Zig-zag spring: Also known as sinuous springs, these aren’t as durable as coil springs. However, they’re mostly used in modern furniture as they’re less expensive to manufacture. These springs are manufactured in rolls and cut to length as required.
- Marshall springs: These are primarily found in mattresses. The spring remains enclosed within fabric with the steel being tempered. When pre-compressed, these springs make either side of a bed independent of the other to some extent.
Padding
The padding of upholstered furniture isn’t just meant for providing durability and comfort. Rather, it also gives the furniture its own unique style. The techniques applied in padding upholstered furniture are mainly determined by the furniture style and the types of materials used. There’re different kinds of materials used in the padding process as described below.
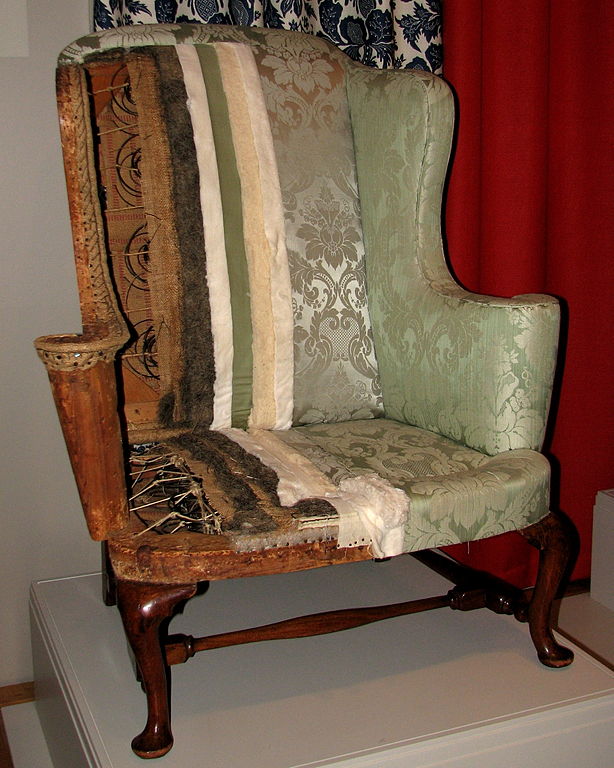
- Down / Feathers: Fairly expensive, this type of padding mostly consists of feather.
- Foam cushions: Foam comes in a diverse range of densities and qualities. It’s important to note that density of foam is calculated by weight.
- Polyfoam: This is another popular padding material used to upholster pillows, patio cushions, outdoor furniture etc. Polyfoam padding softens the edges of furniture to a great extent.
- Organic cotton: This is durable, soft and often comes with an invisible scrim. Use of this padding eliminates the risk of having chemicals retained in the cotton that may harm the user of the upholstered furniture.
Supplies
If you’re thinking to re-upholster your old sofa, you should have the basic supplies before you begin. It’s important to note that there’re also some specialized tools that can make your job a lot easier based on the type of your upholstery work you plan to take up.
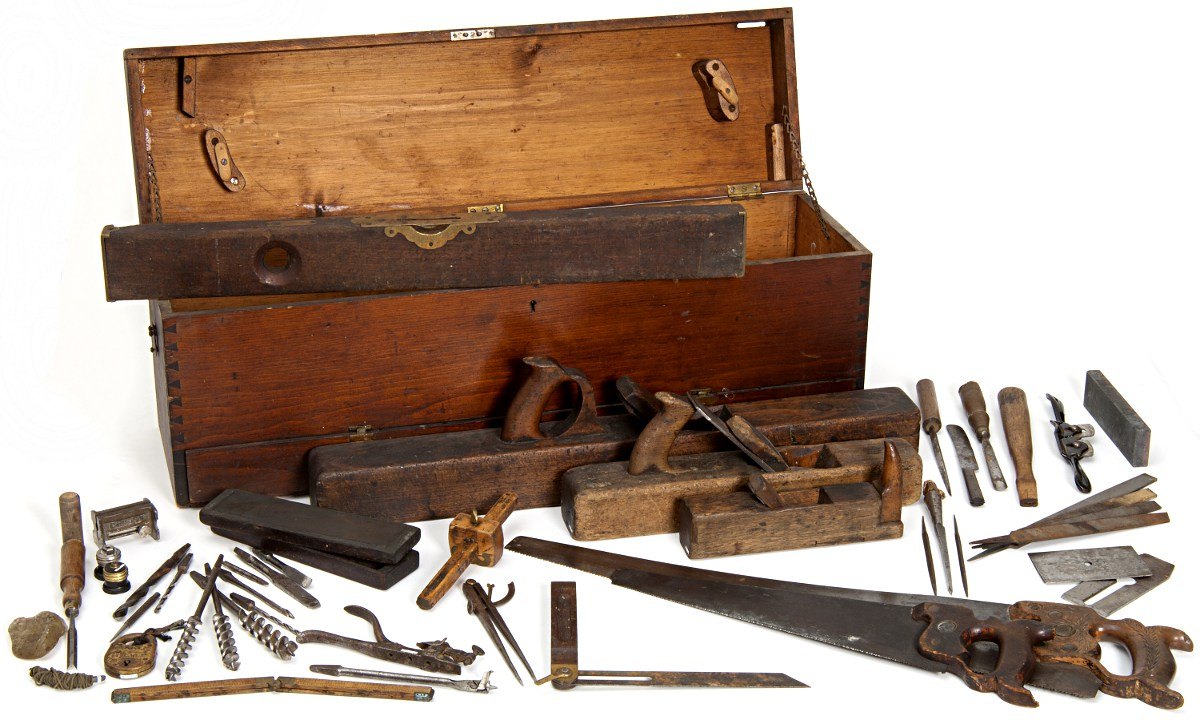
- Screwdriver: This is to disassemble the furniture or remove the parts of it you want to work on.
- Magnetic hammer: One end of this tool is magnetic, which helps you to lift the pin and hammer it with one hand while you can hold or pull things with your other hand.
- Measuring tape: This to measure webbing, fabric, welting etc.
- Fabric scissors: Ideally, you should have very good scissors to cut through several sheets of fabric or thick fabric at once.
- Staple remover: This aids you to pull staples from a flat surface or a channel without causing any damage to the area.
- Staple gun: To staple webbing or fabric in place.
- Upholstery tacks: Use these to tack webbing and fabric in place.
Trims
Upholstery trims cover the visible staples or tacks where the material meets show wood. If you’re reupholstering in fabric, you can use gimp braid or double welt trims. But if you’re performing the craft in leather or vinyl, you can use Hidem welt or double welt.
- Double welt trim: You can make this out of contrasting or same material with the help of a special welt foot.
- Single welt trim: Some show wood furniture come with crevices to staple into. When the fabric is stapled into this crevice, it’s then filed with single welt trim attached with hot glue.
- Gimp trim: It’s a flat braided or woven trim or ribbon that usually comes in a scrolled or wavy pattern.
- Hidem welt trim: It makes finishing leather or vinyl much easier. It hides the tacks, staples and raw edges of leather or vinyl.
Reupholstering a sofa
Step 1 – Stripping
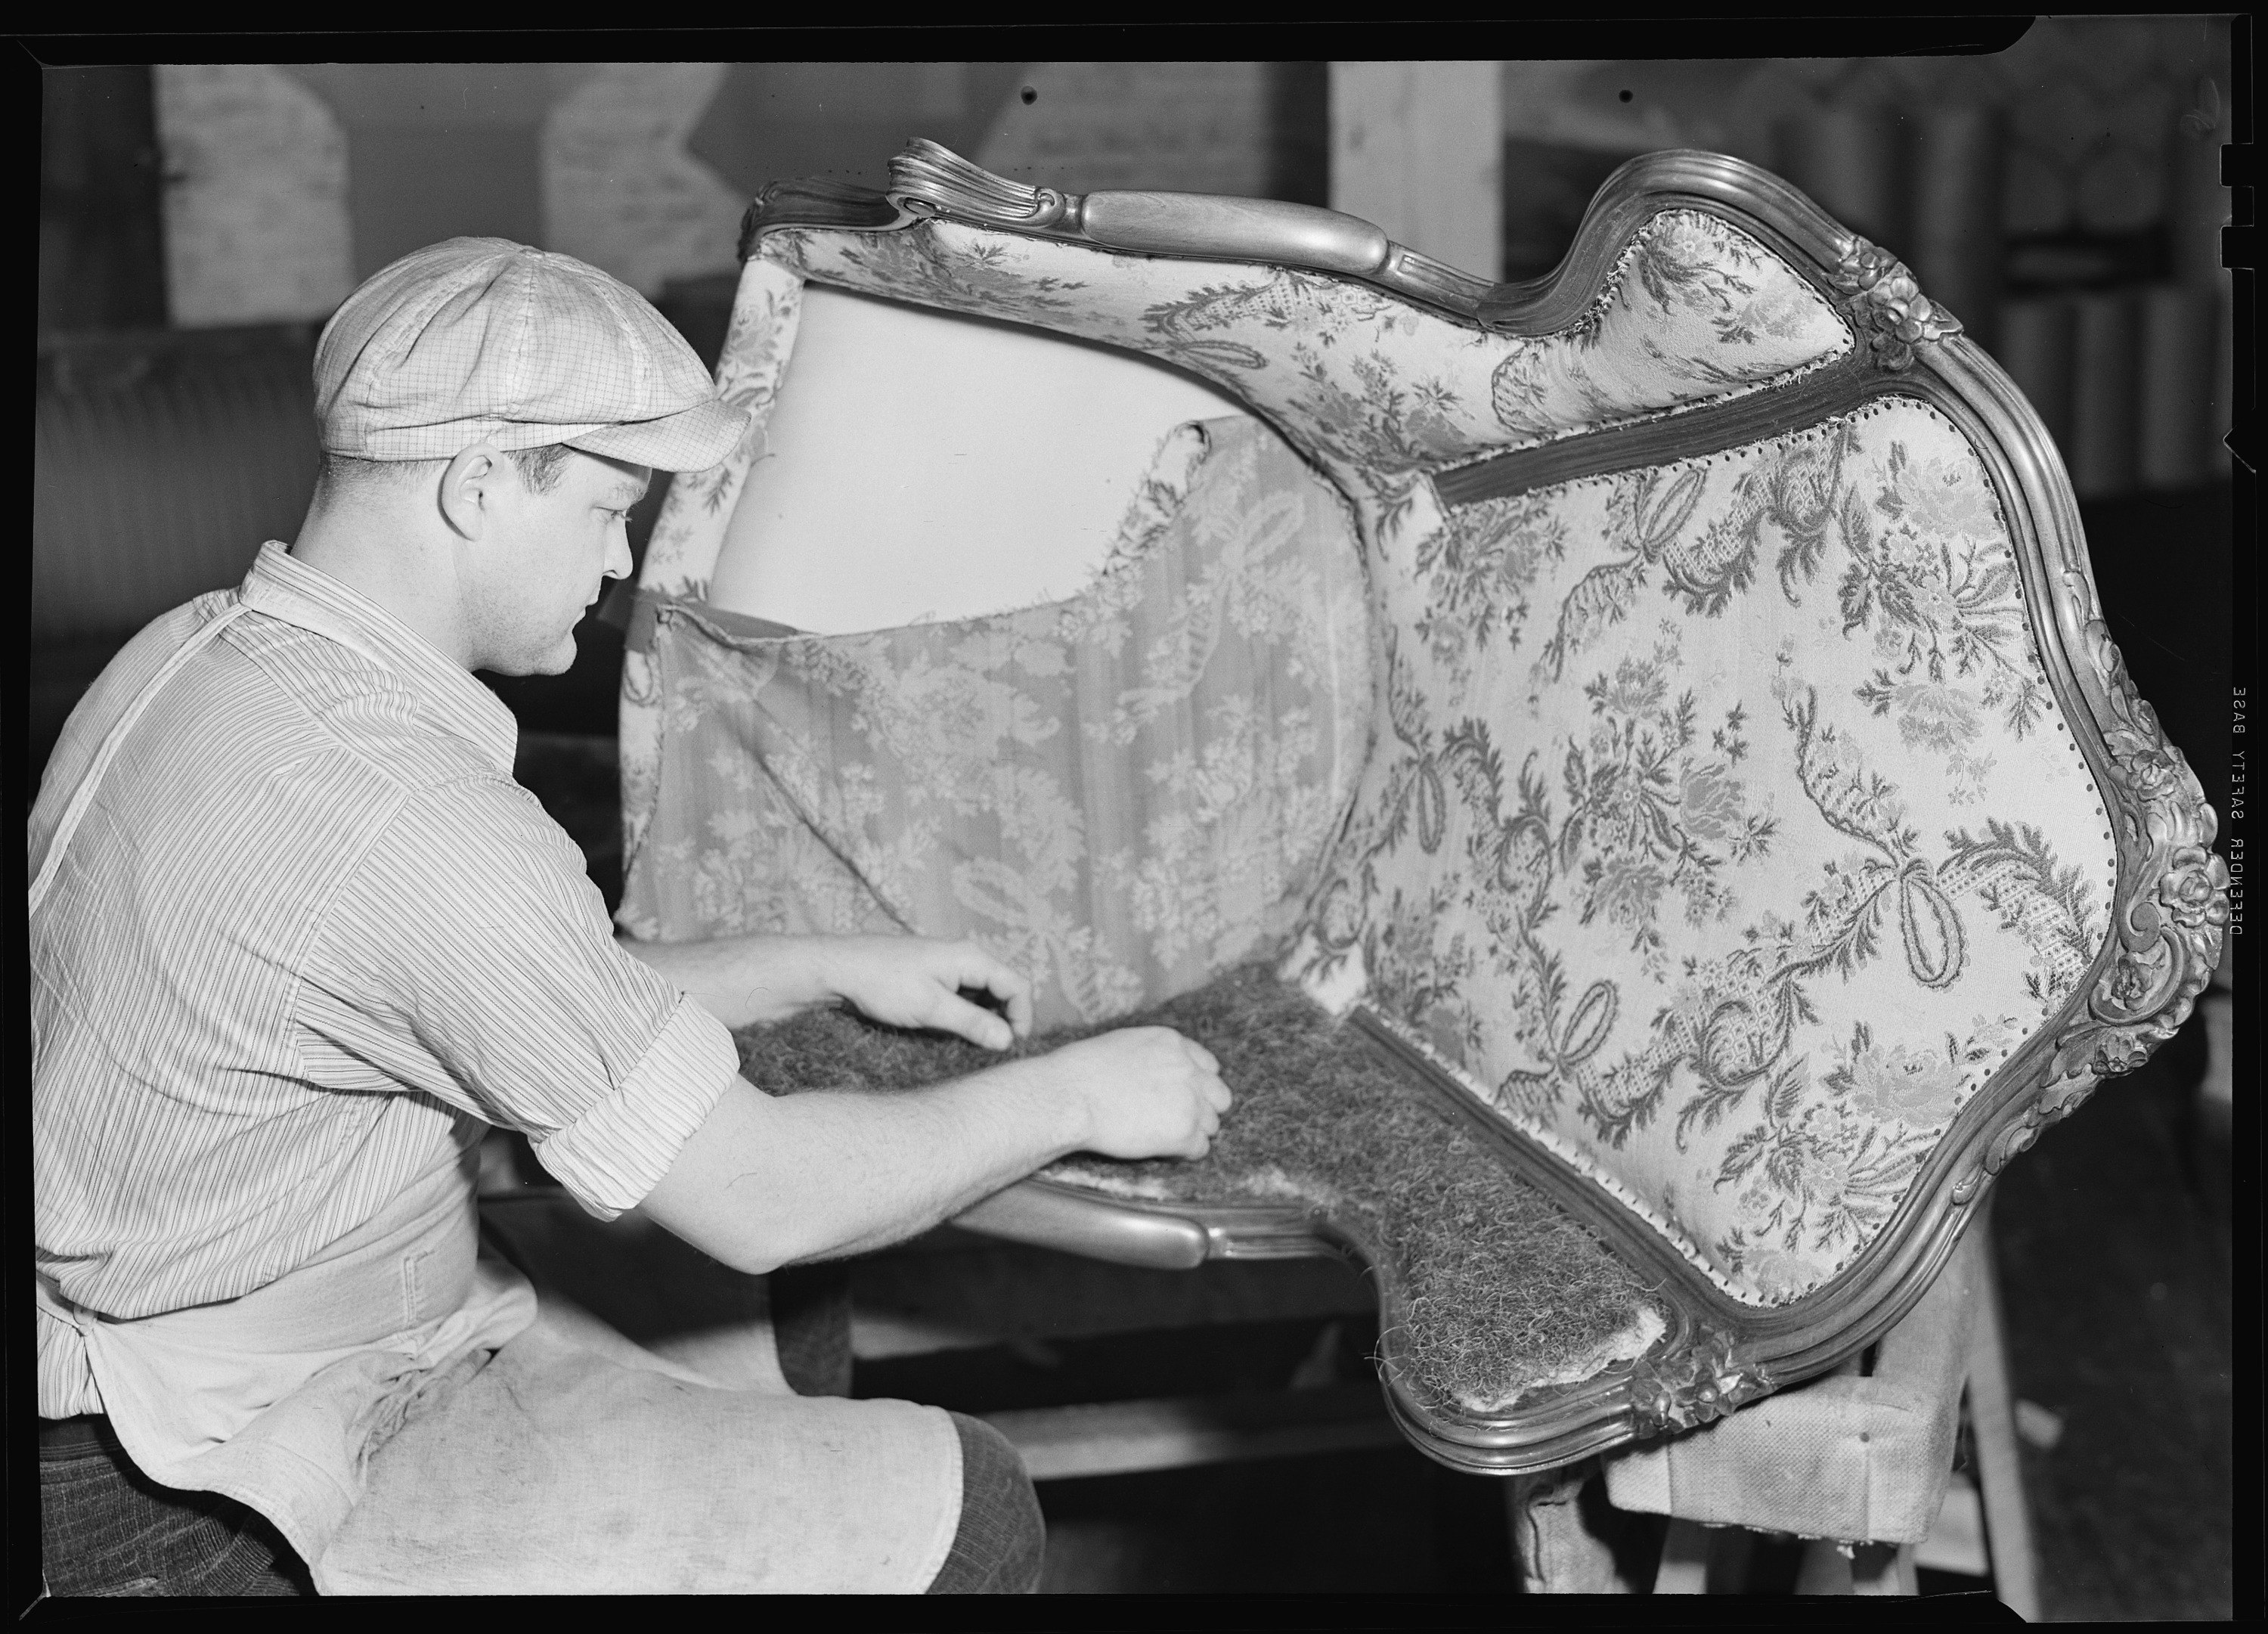
The first step when it comes to reupholstering your old sofa is to remove the old fabric and the dust-clothes. Upholstering over the actual fabric is quite a daunting task and gives the overall work a poor finish. The easiest way to strip the old fabric is to separate one piece of the fabric at a time, not to mention very carefully. Since the fabric is most likely to be stapled on, you may need to use pliers to remove those staples. It’s wise not to split the fabric in a hurried manner as that can damage the frame beneath as well as the padding. Ideally, you should number or mark each piece of the old fabric in order to identify where they were taken from your sofa. You can also write down the name of the pieces using a marker before you take them apart. For instance, while everything is intact, you can write ‘back’, ‘front cushion’, ‘deck’, ‘right arm top’ etc. Then you can use these pieces as templates for your new fabric. If the old cover of the sofa fits well, you can also use it to cut the new fabric. Don’t forget to keep the ripped cover around until you’re done with the work.
Step 2 – Upholstering the couch
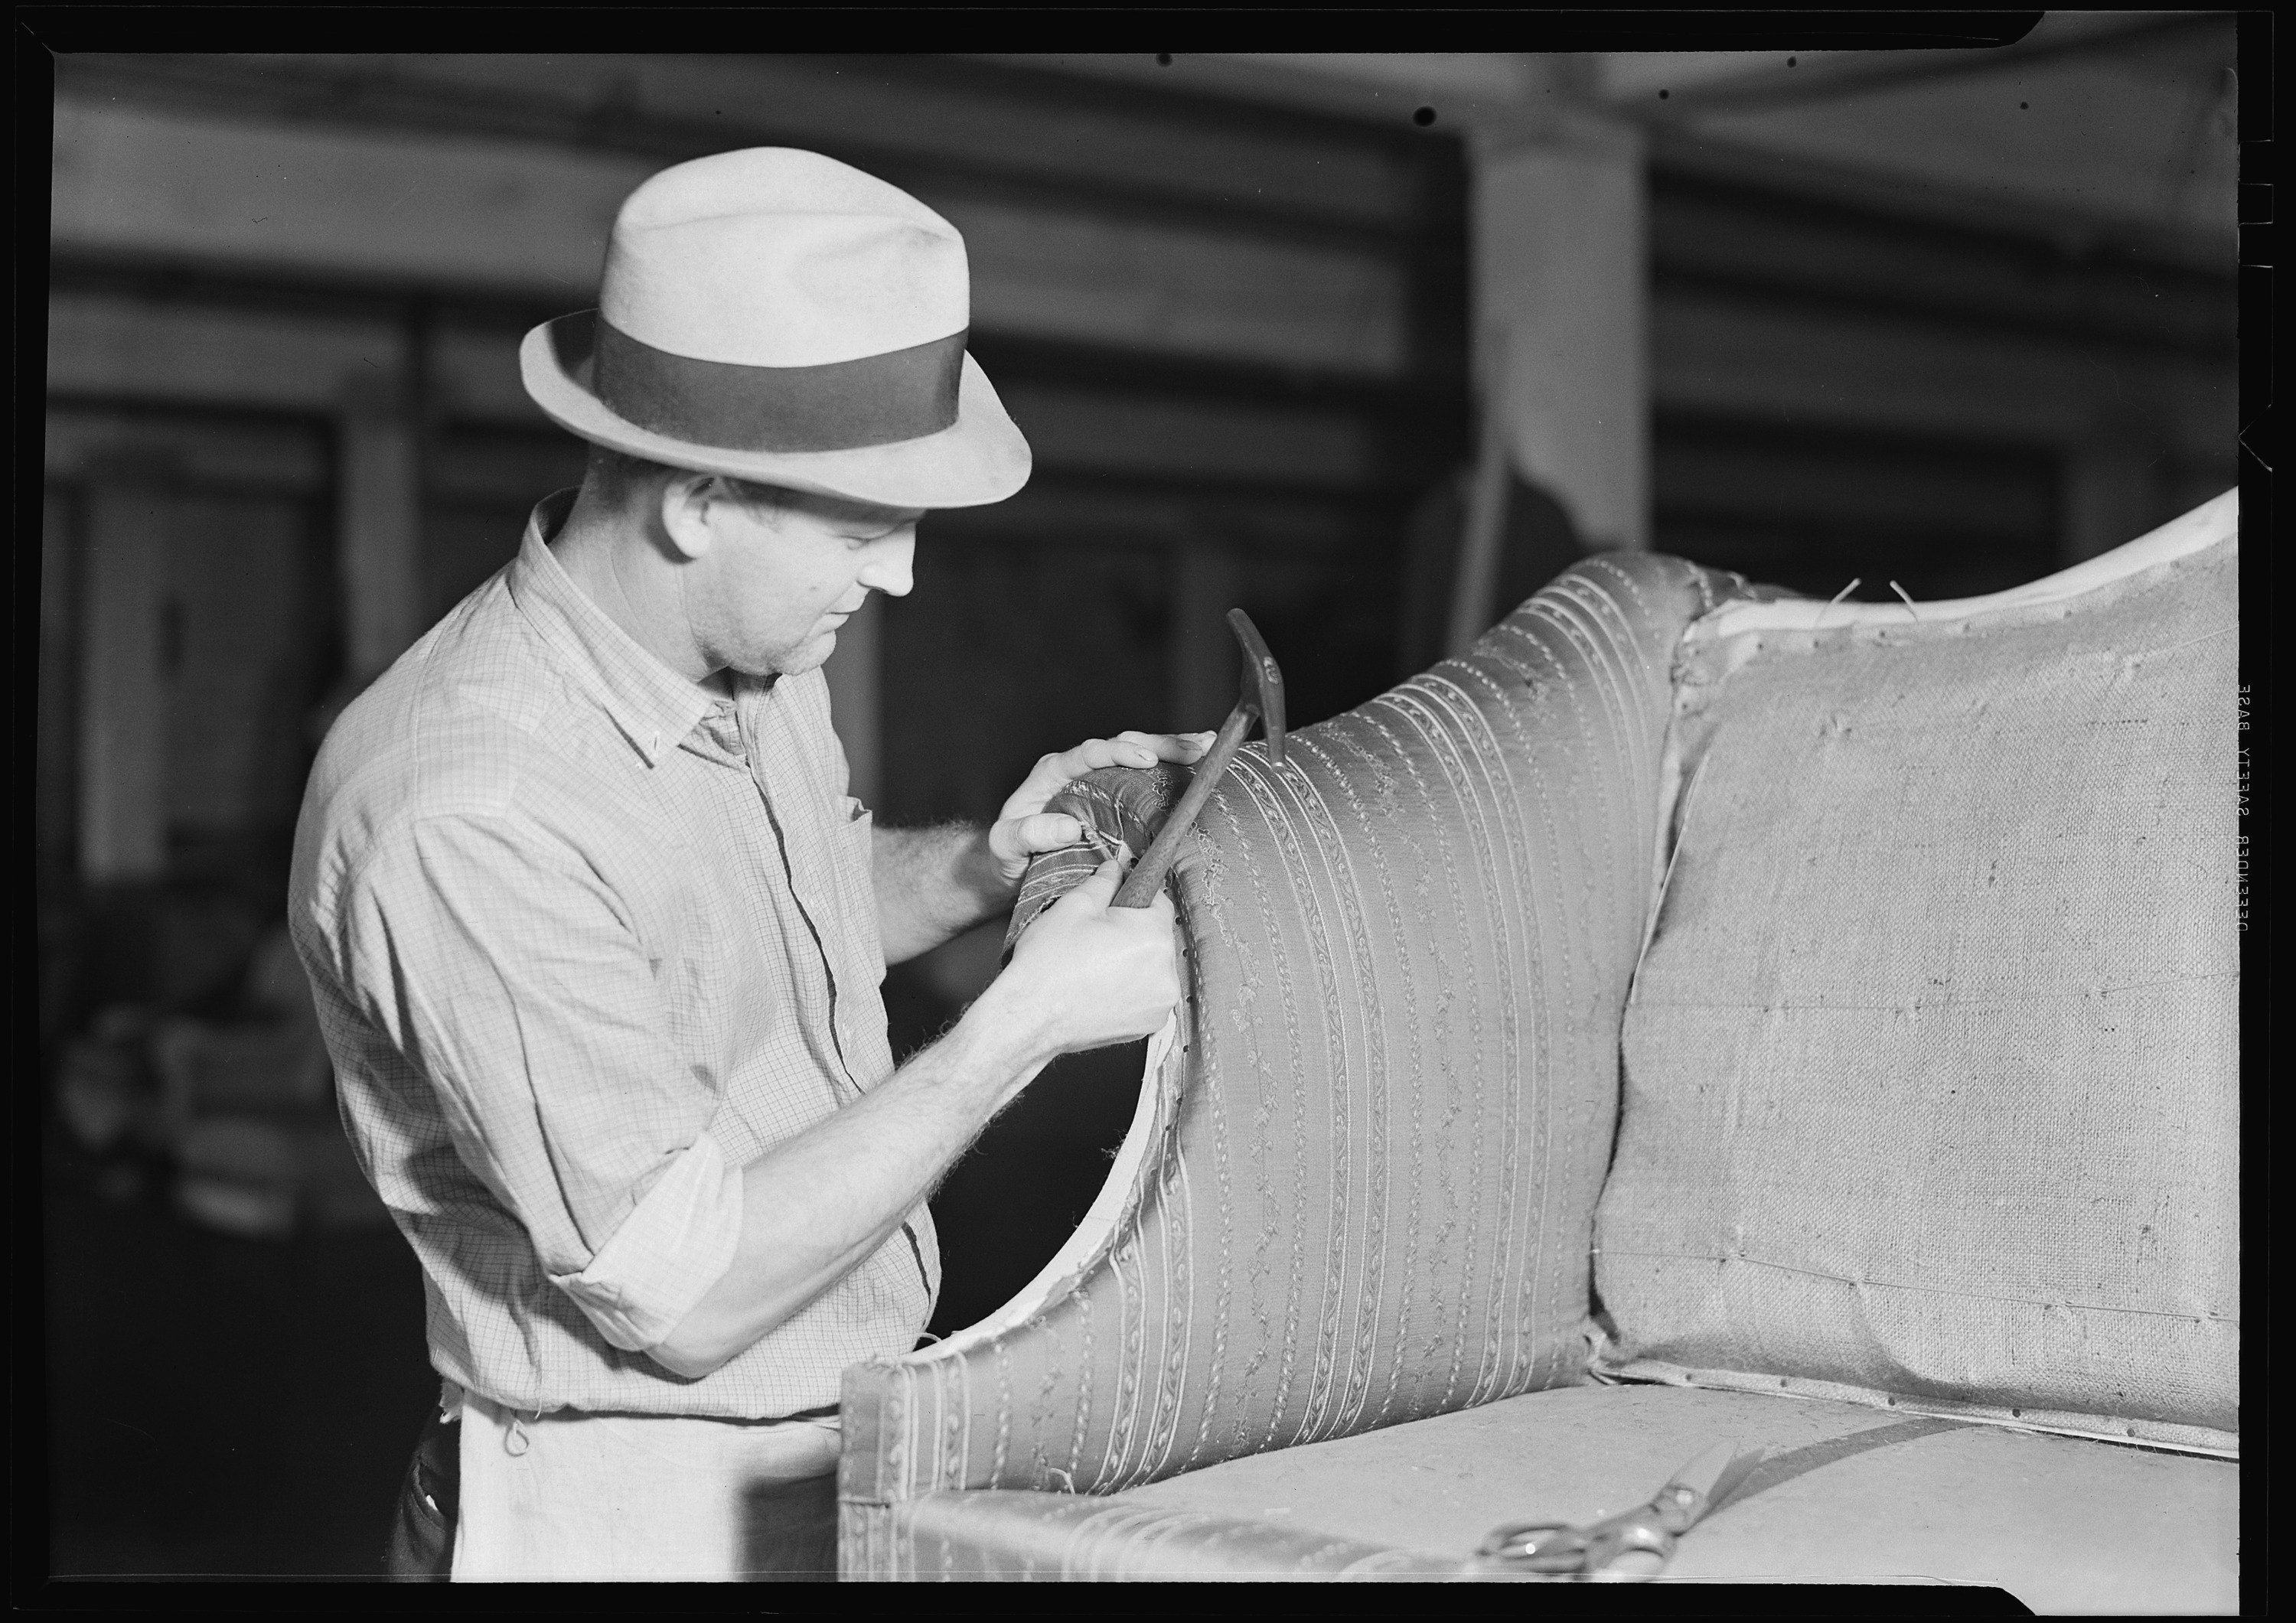
Once the sofa is prepared, it’s time to cut your new fabric for reupholstering the sofa. It’s also the time when you would need the old pieces. Lay the new fabric out on a flat, even, large surface. Keep the old pieces on your new fabric and mark around them with the help of a fabric pen or tailor’s chalk that fades after a couple of hours. Keep two or three centimeters extra all the way round for perfect fitting. Cut out every piece carefully using good fabric scissors. The easiest process to reupholster the couch is to attach the new pieces in a reverse order to which the ripped pieces were removed. Fasten one edge of your new fabric carefully using a staple gun. Make sure that there is no wrinkling or sagging, unless you intend to have that effect in the design. If you wish to have a smooth effect, stretch the fabric but ensure it is safeguarded from splitting or tearing when someone sits on the finished sofa. Now, pull and straighten the fabric and staple the other side. Repeat the same method while working with the other pieces of the new fabric. Remember to check out the mistakes as soon as you’re done with the upholstering work as it’s much easier to correct a mistake early on instead of doing it at the end of the process. Easy mistakes may include the fabric becoming sagged, wrinkled etc. In these cases, you can remove the staples and reposition the fabric before moving onto another piece.
Step 3 – Finishing the couch
Now, when you’ve the couch reupholstered, it’s time to give the piece a nice finish. Tufting is a common term used in the world of upholstery. It refers to the process of developing straight line, clean indentations of a distinguishing, repeating geometric pattern of diamonds or squares. This allows the newly added fabric to protrude from the lines. It’s important to note that you need to have an upholstery needle with substantially strong yarn to begin threading, which is the first part when it comes to creating tufting. Make small tucks in your fabric and thread a covered button or a stud onto your upholstery needle. Now, pass the needle through your fabric while pulling down the button. Use another piece of button or have a cable tie to knot the thread around at the backside of your fabric to ensure proper placing of the stud. Continue with the same process at same intervals on the fabric with multiple buttons. When adequate amount of depressed areas and studs are done, bulges of nicely padded fabric are created, resulting in a traditional, tufted appearance. Remember that tufting is optional and isn’t ideal for every type of sofa. So, now you’ve a nicely reupholstered sofa, which isn’t too difficult to achieve.
Skills you need to develop
Diamond tufting
After drawing central lines on the board, you should decide the size of the diamonds and mark them starting from the central lines. Place the board on the foam and cut the foam to size. Drill holes at the intersection of rhombs on the board and then use a marker to mark the holes on the foam. You can use a puncher to cut through the foam and get clean holes. Align the holes on the board and foam, and glue the foam to the board. Place your batting piece on top of the foam, use your fingers and then the puncher to drill corresponding holes, and secure the sides. Take your covered button molds, cut an appropriate piece of cord and loop it through the back of each button. Find the two vertical marks on your center diamond. Thread both the cut ends of the cord through a large needle, pull the first button down through the foam and the board, pull firmly and secure using a staple or two. Repeat the process on the opposite side of that diamond and then on the adjacent side. Remember to make neat folds on either side of the button before pulling it down. While pulling down the button, keep manipulating the top fabric to create snug folds and ensure that all folds face downward. Repeat the process for successive diamonds to get your diamond tufts.
Seat with buttons
You have to mark the holes on the seat’s board and drill out the holes at first. Next, place the foam of a slightly bigger size than the board on the other side, poke a needle through the board’s hole to mark the points on the foam and use a puncher to make holes. Cover with the fabric of your choice on top, use the big needle to get the button in place by pulling down both ends of the string attached to the button, which can then be secured with a staple gun. Repeat the steps with the other buttons and make sure the fabric folds are uniform. Secure the edges with staple gun and your upholstered seat bench with buttons is ready.
Sofa frame
Choose any material for lining, fix it to the frame and secure the edges with a staple gun. Put cotton felt above, fix it with staple gun, and then a layer of foam atop using foam spray glue. Choose your fabric, sew it to size and then staple it on top of the foam with a heavy-duty staple gun. Start attaching the fabric from the inside out (arms, inside back etc) and pull it snug while attaching since it will stretch over time. Staple the excess fabric at the sides and bottom. Don’t staple at front. Instead, pull the fabric to sides and staple for a clean finish.
Round tufted Bench
Mark the bench and then the foam atop it. Use a puncher to make holes in the foam. Cover it with a thin layer of fiber and fix it with spray glue. Use scissors to punch holes that are in line with those on the foam. Put your chosen fabric atop, use your fingers to find the holes, use a large needle to bring down the double edged threads of your buttons, which you need to staple securely. Repeat the process with other buttons while ensuring the fabric layer has neat folds with each pull made to fit the buttons snugly. Once all the buttons are placed on top to create your tufted bench, staple the corners of the excess fabric hanging on the edges.
Tips & tricks you need to remember
- Use a latex fabric glue to prevent fraying of your fabric which is very common when cutting or sewing fabric.
- For attaching buttons, all you need is a large needle, scissors and a heavy duty, long twine. Just thread the twine through the eye of the button, pass the two loose ends of the twine through the needle, mark the place where you want the buttons to go, push the needle through, pull the strings to get the required depth for the button, and staple the loose ends. This is the simplest way of attaching a button.
- When using straight designed fabrics and trying to avoid having the piping match your top and bottom fabrics, you can cut the piping diagonally. However, you would need a lot more fabric in this case when cutting the piping diagonally than with a straight cut.
- To make the wrinkles along the piping of your cushion vanish, you can press a steam iron lightly. Make sure to test a rough patch of similar fabric with the iron first to ensure the fabric can bear the heat and there’s no discoloration or other damage.
- Fabrics sewn on the diagonal with a sewing machine often have the angles stretched. To avoid this, you can put a masking tape on the underside of the fabric along the edge. When you sew it, the angle won’t go anywhere and it would turn out perfect.
- When using the 3-inch skewer type needle to regulate padding, poke it on points where the holes aren’t easily noticeable (for instance, the borders of a flower design).
- When re-upholstering, use a seam remover to remove the old fabric, which will make the job easier on your hands.
- For giving your beaten down cushion a new lease of life, add an extra layer of polyester fiberfill and cover with full padding for a cushy uniform seat.
- For clean corners, cut an arch in the fabric, fold over the edge on the bottom, tuck it underneath and staple. Fold over the other edge above the just stapled piece, slit at the edge of the fabric, tuck in the excess fabric using a butter knife. This will give you a nice, vertical pleat at the corner.
- You can use a cardboard strip or a metal tack strip to get clean edges at the back and the sides.
Conclusion
It gives immense pleasure to DIY enthusiasts when they can reupholster a sofa at home on their own. With these tips, you too can take the DIY route to flaunt your labor of love. However, it’s always better to take an expert opinion before you embark on your DIY project just to ensure that the job is fit to be done by you. If your sofa is quite old or damaged significantly, you should ideally hire skilled carpenters and upholstery experts to reupholster it with a professional touch and finish.