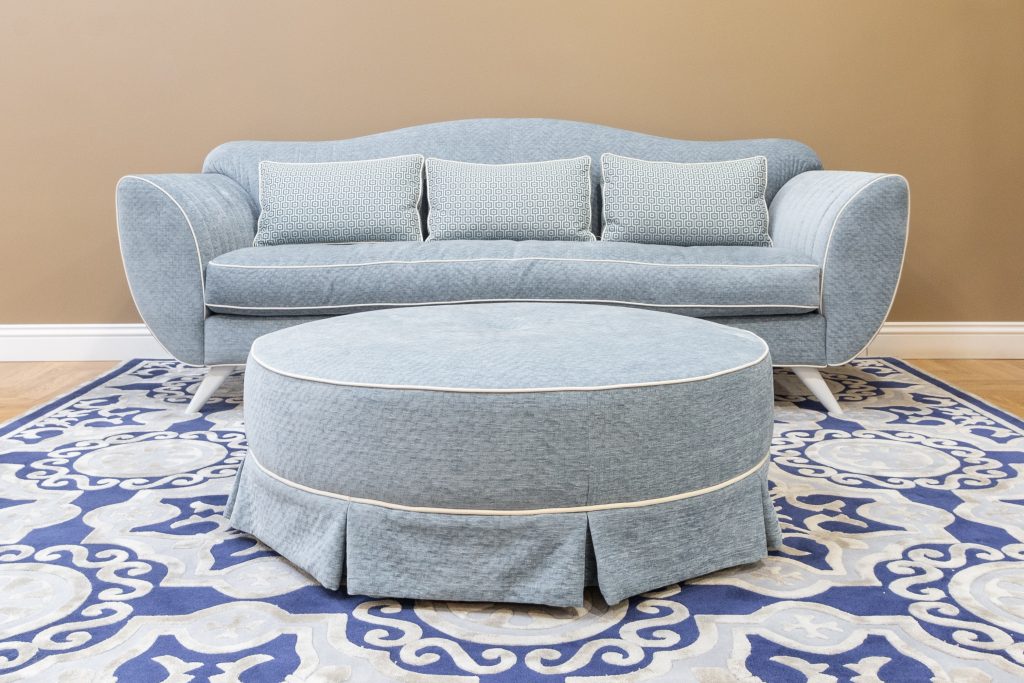
Upholstery refers to the materials used to cover furniture, such as sofas, chairs, and ottomans. Over time, upholstery can become damaged, whether it’s from wear and tear, accidents, or pets. However, with the right tools, materials, and techniques, you can repair your upholstery and restore it to its former glory. In this article, we will guide you through the process of repairing upholstery, step by step, to achieve a professional look.
Understanding the Basics of Upholstery Repair
Before diving into the repair process, it’s essential to have a basic understanding of upholstery and the common types of damage it can sustain.
Upholstery refers to the fabric and padding that covers furniture. It not only adds aesthetic appeal but also provides comfort and protection.
When it comes to upholstery, there are various materials used, including fabrics like cotton, linen, silk, and synthetic fibers such as polyester and nylon. The padding can be made of foam, down feathers, or a combination of both, depending on the desired level of comfort.
Over time, upholstery can suffer from wear and tear due to regular use. This can result in various types of damage, including tears, rips, stains, and worn-out areas. Understanding these common issues will help you determine the appropriate repair method for your specific situation.
Tears and rips can occur due to sharp objects or excessive force applied to the upholstery. Stains can be caused by spills or accidents, leaving unsightly marks on the fabric. Worn-out areas are often the result of constant friction and pressure, causing the fabric to thin and lose its original texture.
Repairing upholstery damage requires careful attention to detail and the use of suitable materials and techniques. Depending on the extent of the damage, you may need to patch the affected area, re-stitch seams, or replace the fabric altogether. Professional upholsterers have the expertise and tools necessary to perform these repairs effectively.
It’s important to note that upholstery repair is not limited to furniture. Upholstered items such as car seats, boat interiors, and even airplane seats can also undergo damage and require repair.
By understanding the basics of upholstery and the common types of damage it can sustain, you’ll be better equipped to assess the condition of your furniture or other upholstered items and make informed decisions about the necessary repairs.
Gathering the Necessary Tools and Materials
Before you begin the repair process, it’s important to gather all the tools and materials you’ll need. Having everything on hand will save you time and ensure a smooth repair job. Let’s take a closer look at what you’ll need.
Essential Upholstery Repair Tools
When it comes to upholstery repair, having the right tools is essential. Here are some tools you’ll need:
• Needle: A needle is necessary for sewing and stitching.
• Thread: Choose a thread that is strong and matches the color of the original stitching.
• Scissors: Scissors are needed for cutting fabric and thread.
• Upholstery pins: These pins are useful for holding fabric in place before sewing.
• Staple gun: A staple gun is often used to secure fabric to the frame.
• Fabric marker: A fabric marker can be used to mark areas that need to be repaired.
• Rubber mallet: A rubber mallet is handy for gently tapping and securing upholstery.
With these essential tools, you’ll be well-prepared to tackle any upholstery repair job.
Choosing the Right Fabric and Thread
When it comes to repairing upholstery, selecting the appropriate fabric and thread is crucial for achieving a seamless repair. Here are some things to consider:
Fabric: It’s important to choose a fabric that matches the color, texture, and pattern of your existing upholstery as closely as possible. This will help ensure a cohesive and professional-looking repair. Take the time to carefully compare and match the fabric before starting the repair process.
Thread: Just like the fabric, the thread you choose should match the strength and color of the original stitching. Using a thread that closely matches the original will help your repair blend in seamlessly and provide the necessary durability.
By taking the time to carefully choose the right fabric and thread, you’ll be able to achieve a repair that not only looks great but also stands the test of time.
Step-by-Step Guide to Repairing Upholstery
Now, let’s dive into the step-by-step process of repairing your upholstery and giving it the professional touch it deserves.
Preparing the Damaged Area
Start by thoroughly cleaning the damaged area to remove any dirt or debris. Use a gentle upholstery cleaner and a soft brush, working in small circular motions. This will not only remove surface dirt but also help to loosen any embedded particles that may have accumulated over time. Allow the area to dry completely before moving on to the next step.
If the damaged area has loose threads or frayed fabric edges, carefully trim them using sharp scissors. Be cautious not to cut into the surrounding undamaged upholstery. This step will ensure that the repaired area looks neat and seamless.
Before proceeding, it’s important to assess the extent of the damage. Is it a small tear or a larger hole? Understanding the size and nature of the damage will help you determine the best course of action for repair.
Sewing and Patching Techniques
If the damage is a small tear or rip, you can use a sewing technique to repair it. Thread your needle with a matching thread, and starting from the back of the upholstery, take small stitches along the tear, pulling gently to close the gap. This method will create a strong and invisible repair. Continue stitching until the tear is fully closed. Make sure to tie off the thread securely on the backside of the fabric.
For larger tears or holes, you may need to use a patch. Cut a piece of matching fabric slightly larger than the damaged area. This will ensure that the patch covers the entire damaged section and blends seamlessly with the surrounding upholstery. Apply fabric glue to the edges of the patch, then carefully place it over the damaged area, pressing firmly to secure it in place. Allow the glue to dry completely before proceeding. This patching technique will provide a durable and aesthetically pleasing repair.
It’s worth noting that if your upholstery has a pattern or texture, matching the patch fabric to the existing upholstery can be challenging. In such cases, you may consider consulting a professional upholsterer who can help you find a suitable fabric match.
Replacing Foam and Padding
In some cases, the foam or padding beneath the upholstery may also need to be replaced. Over time, these materials can become worn out, resulting in a loss of comfort and support. If you notice that the cushioning has become flat, lumpy, or damaged, it’s time to replace it.
To replace the foam or padding, start by removing the upholstery from the affected area. Carefully detach any fasteners or staples that hold the upholstery in place, being mindful not to damage the fabric. Once the upholstery is removed, assess the condition of the foam or padding.
Measure the thickness and density of the existing foam or padding and purchase a replacement of the same specifications. This will ensure that the new cushioning provides the same level of comfort and support as the original. Cut the replacement foam or padding to fit the dimensions of the affected area. Ensure that the replacement fits snugly into the space and does not affect the overall shape or comfort of the furniture.
Once the new foam or padding is in place, carefully reattach the upholstery, making sure it is taut and smooth. Use appropriate fasteners or staples to secure the fabric, ensuring a professional finish.
By following these step-by-step instructions, you can successfully repair your upholstery, restoring its beauty and functionality. Remember, patience and attention to detail are key to achieving professional results. With a little effort and the right techniques, your furniture will look as good as new!
Achieving a Professional Finish
Once you have completed the repair process, it’s essential to pay attention to the finishing touches to achieve a professional look.
When it comes to upholstery repairs, achieving a seamless and invisible finish is crucial. You want the repaired area to blend seamlessly with the rest of the upholstery, creating a smooth and uniform appearance. To achieve this, there are a few tips you can follow.
Tips for Smooth and Invisible Repairs
To ensure your repairs are seamless and invisible, use an upholstery brush to gently fluff up the repaired area’s surrounding fabric. This will help blend the repaired section with the rest of the upholstery and create a smooth, uniform appearance.
In addition to using an upholstery brush, you can also try using a fabric steamer. Gently steaming the repaired area can help relax the fibers and further blend the repair with the surrounding fabric. Be cautious not to over-steam, as excessive heat or moisture can damage certain types of upholstery.
Another tip is to carefully inspect the repaired area from different angles and in different lighting conditions. This will allow you to identify any inconsistencies or imperfections that may need further attention. Making these adjustments before considering the repair complete will ensure a truly professional finish.
Upholstery Cleaning and Maintenance
Regularly cleaning and maintaining your upholstery will not only keep it looking fresh and clean but also extend its lifespan. Follow the manufacturer’s recommendations for cleaning, and take proactive steps to prevent future damage.
When it comes to cleaning, it’s important to use the appropriate products and techniques for the type of upholstery you have. Different fabrics require different care, and using the wrong cleaning method can lead to discoloration or damage. If you’re unsure about the best cleaning method for your upholstery, consult a professional or refer to the manufacturer’s guidelines.
In addition to regular cleaning, it’s also important to take proactive steps to prevent future damage. This can include using protective covers, avoiding direct sunlight exposure, and keeping pets away from the upholstery. Taking these preventive measures will help maintain the upholstery’s appearance and prolong its lifespan.
Furthermore, consider scheduling professional upholstery cleaning at least once a year. Professional cleaning can deep clean the upholstery, removing dirt, stains, and allergens that regular cleaning may not be able to eliminate. It can also help revitalize the fabric, making it look and feel like new.
By following these tips for achieving a professional finish and practicing regular upholstery cleaning and maintenance, you can ensure that your repaired upholstery stays in excellent condition for years to come.
When to Call a Professional
While DIY upholstery repair can be rewarding, there are times when it’s best to leave the job to the professionals.
Identifying Irreparable Damage
Some types of upholstery damage, such as extensive structural damage or irreparable fabric tears, may require professional expertise. If you are unsure about the severity of the damage or lack the necessary skills to repair it yourself, it’s best to consult a professional upholsterer.
Cost-Benefit Analysis of DIY vs Professional Repair
Consider the time, effort, and cost involved in completing the upholstery repair yourself versus hiring a professional. Sometimes, the expertise and precision of a professional can outweigh the benefits of a DIY approach.
In conclusion, repairing upholstery for a professional look requires some knowledge, patience, and the right tools and materials. By following the step-by-step guide provided in this article, you can restore your damaged upholstery and enjoy its beauty and comfort for years to come.