Your home is the most comfortable place for you, and this comfort comes from the house members, the ambiance, the sense of security, that old piece of the couch, and even that antique dressing drawer from your grandma.
Your comfort cannot be defined in material terms, and everything that matters to you becomes essential for you. And all that is important for you needs to be sustained for a longer period of time.
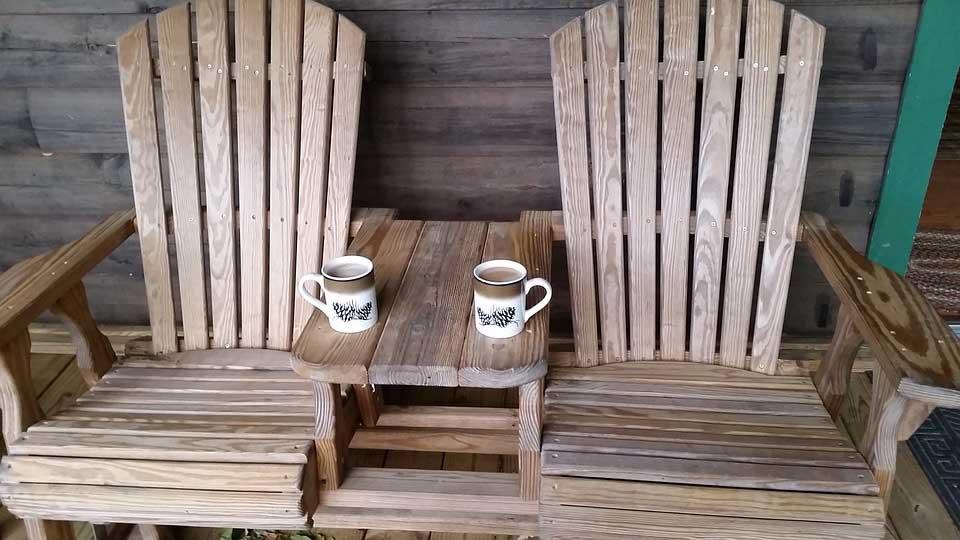
Yes, that’s why you need to restore your old furniture to give it a fresh look and help it live even after the long you do, thus assuring your future generations a legacy that follows your family values.
Why Is Furniture Restoration Recommended?
A used piece of furniture can be used for decades. But over the years, stains, scratches, and cracks can reduce its efficiency and beauty.
Fortunately, used furniture can now be cleaned up and restored with a few inexpensive items from your local home improvement store. Getting your older furniture professionally restored or repaired can help it look fresh and new again. Whether you are trying to give your older furniture a complete makeover to suit your evolving tastes, or you want it restored to its original glory to help enhance the vintage look and feel of your home, furniture restoration service can be your answer.
Having your older furniture repaired and restored can give it a complete face-lift while still preserving the aspects that made you fall in love with it, to begin with.
With furniture restoration, however, even if the piece you need to be restored is enormous, it will still be less than the cost of replacing it with something new. Opting for restoration instead of buying new ones can leave you with more money in your pockets at the end of the day.
By restoring and refinishing your existing furniture instead of buying new, you are actually helping to do your part in protecting the environment.
Scientific data shows that restoring and refinishing your existing furniture can drastically reduce your carbon footprint. It is estimated that the process of making new furniture releases over 1000 times more carbon dioxide into the atmosphere than the process of restoring or refinishing your existing furniture.
This can give you the advantage of creating an entirely different style in your home without having to arrange a lot of money.
Best of all, you get to keep all the furniture pieces that have been a part of your home over the years.
Each piece of furniture is different and needs different restoration needs, and it’s possible to fix a used couch, chair, or table and have it look almost like new in just a few hours or days.
A Step-By-Step Guide To Professional Furniture Restoration
- The first step in furniture restoration is to analyse and inspect your furniture’s style, material, and quality. You may perform a patch test to ensure it responds well to different solutions or determines whether it has a damaged or varnished finish. Then, you can clean the object thoroughly using an appropriate tool. For example, wood furnishings can easily be cleaned with oil-based solutions that break through grime to reveal fresh exteriors.
- Removing out surface imperfections and scratched particles using a solvent is necessary. You can apply this part with a brush and then go over it with a steel tool. You may then finish with a coating of hard paste wax to produce a shiny appearance and renew the look of the piece.
- If there’s more work required, you may need to strip the surface. You can begin from the top, applying a furniture stripping solvent and allowing it to sit before removing away all of the remaining with an appropriate tool. You can use a liquid solution at the end if any remnants of the previous finish remain.
- Finally, it’s time to give your beloved old piece of furniture a fresh makeover using your choice’s stain and finish tool. After you are convinced that there are no remaining repairs, You can sand and clean the surface. Then, apply the coating and allow it to set before removing the solution. After sanding again, you can use varnish or lacquer to create a shiny finish.